Homemade Dog Treat Recipes for Fresh Breath and a Happy Pup

When it comes to keeping your dog healthy and happy, treats play a big role. But not just any treats—homemade dog treat recipes are the best way to make sure you’re feeding your furry friend something wholesome, safe, and tailored to their needs. One area many pet parents forget about? Dog breath. If you’ve ever gotten a whiff of your pup’s less-than-pleasant panting, you know what we’re talking about!

That’s why in this post, we’re diving into the world of homemade dog treat recipes—specifically focused on fresh breath. We’ll share why oral hygiene matters, how diet impacts your dog’s breath, and a simple, effective recipe you can whip up at home today. Plus, don’t miss our FREE downloadable recipe book packed with dog-approved treats!

Why Your Dog’s Breath Matters More Than You Think

Bad breath isn’t just an inconvenience—it can actually be a warning sign of underlying health issues. While occasional morning breath is normal (even for dogs), persistent halitosis can point to problems like:

  • Plaque and tartar buildup
  • Gum disease (periodontal disease)
  • Digestive issues
  • Kidney or liver problems

The good news? You can help prevent many of these issues with a combination of regular brushing, vet checkups, and—you guessed it—homemade dog treats designed to freshen breath naturally.

The Benefits of Homemade Dog Treat Recipes

Why go homemade instead of store-bought? Here’s why more pet parents are skipping the pet store aisles and heading to their kitchens:

✅ You control the ingredients

No fillers, preservatives, or questionable chemicals—just whole, dog-safe foods.

✅ Great for dogs with allergies

You can tailor the recipe to exclude common allergens like wheat, corn, or artificial flavors.

✅ Cost-effective

Homemade treats often cost less per batch than premium packaged treats.

✅ You can target specific health needs

Like freshening breath, supporting digestion, or giving your pup a shiny coat.

Ingredients That Naturally Freshen Dog Breath

When creating bad breath-fighting dog treat recipes, it’s all about choosing the right ingredients. Here are a few natural breath fresheners that are also safe for dogs:

  • Mint: A little goes a long way—fresh mint can reduce odor-causing bacteria.
  • Parsley: Packed with chlorophyll and antioxidants, parsley is a natural deodorizer.
  • Coconut oil: Antibacterial and antifungal, coconut oil helps fight bacteria in your dog’s mouth.
  • Pumpkin: Rich in fiber and great for digestion, which can reduce smelly breath from the inside out.

Now, let’s put them to good use in a tasty treat your dog will love!

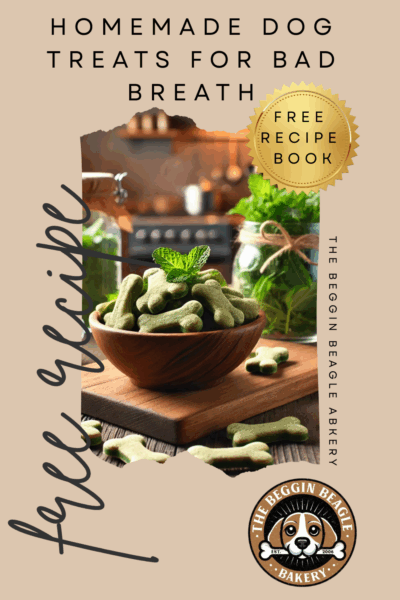
🦴 Homemade Bad Breath Dog Treat Recipe

Fresh Breath Bites

These crunchy, minty treats are packed with ingredients that support oral hygiene while tasting delicious.

Ingredients:

  • 1 1/2 cups oat flour
  • 1 tablespoon chopped fresh parsley
  • 1 tablespoon chopped fresh mint
  • 1/4 cup finely shredded carrot
  • 1 egg
  • 2 tablespoons coconut oil
  • 2 tablespoons water (as needed)

Instructions:

  1. Preheat oven to 325°F (165°C).
  2. In a large bowl, combine oat flour, parsley, mint, and carrot.
  3. In a separate bowl, whisk the egg and coconut oil together.
  4. Add the wet ingredients to the dry and stir until a dough forms. Add water 1 tbsp at a time if dough is too dry.
  5. Roll dough out on a lightly floured surface and cut into small shapes.
  6. Place on a parchment-lined baking sheet and bake for 25–30 minutes or until golden and firm.
  7. Let cool completely before serving.

These fresh breath bites are perfect as daily rewards that actually do something good for your dog’s health!

How Often Should You Give Treats for Fresh Breath?

While brushing your dog’s teeth is still the gold standard for oral hygiene, giving breath-freshening treats 3–5 times a week can make a noticeable difference. These treats help reduce bacteria, freshen your dog’s mouth naturally, and support digestive health (which also impacts how their breath smells!).

Just be sure to factor treats into their daily calorie intake—and always provide fresh water to rinse down those tasty bites.

Bonus Tips to Keep Your Dog’s Breath Smelling Great

In addition to baking up your own homemade dog treat recipes, here are a few tips to help your dog’s breath stay fresh:

🪥 Brush Their Teeth Regularly

Aim for brushing 2–3 times per week using dog-safe toothpaste.

🧼 Clean Their Bowls Often

Bacteria can build up on food and water dishes, contributing to bad breath.

🐾 Provide Chew Toys

Natural chews like raw carrots or dental bones can help reduce plaque.

💧 Keep Them Hydrated

Drinking water helps flush out odor-causing bacteria from the mouth and gut.

From Dog Mom to Dog Boss: Your Baking Can Go Further

If you find yourself loving the process of baking for your pup—and dreaming of more—it might be time to take things to the next level.

The Beggin Beagle Bakery has been perfecting dog treat recipes for nearly 20 years, and we’ve helped pet parents just like you turn their love for baking into a successful side hustle. Our team has baked thousands of healthy treats, and we’ve put our best recipes and tips into one easy-to-use guide for dog lovers everywhere.

🎁 Download Our Free Dog Treat Recipe Book

Want even more homemade dog treat recipes like our Fresh Breath Bites? We’ve created a beautiful, printable recipe book packed with easy, healthy, and dog-tested treats.

Inside you’ll find:

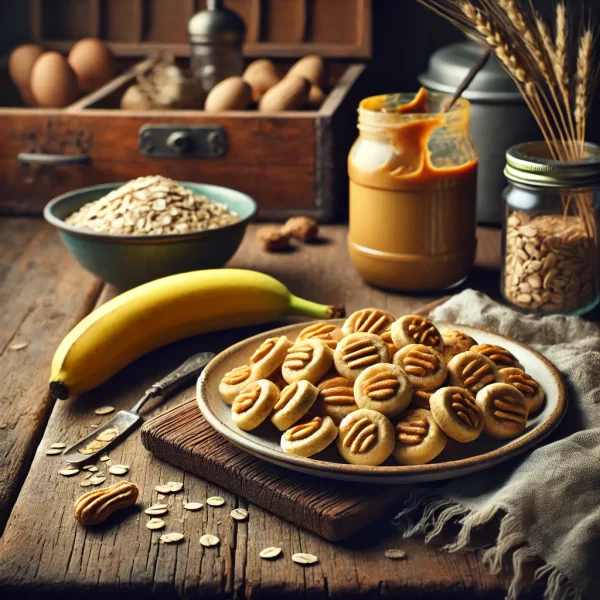
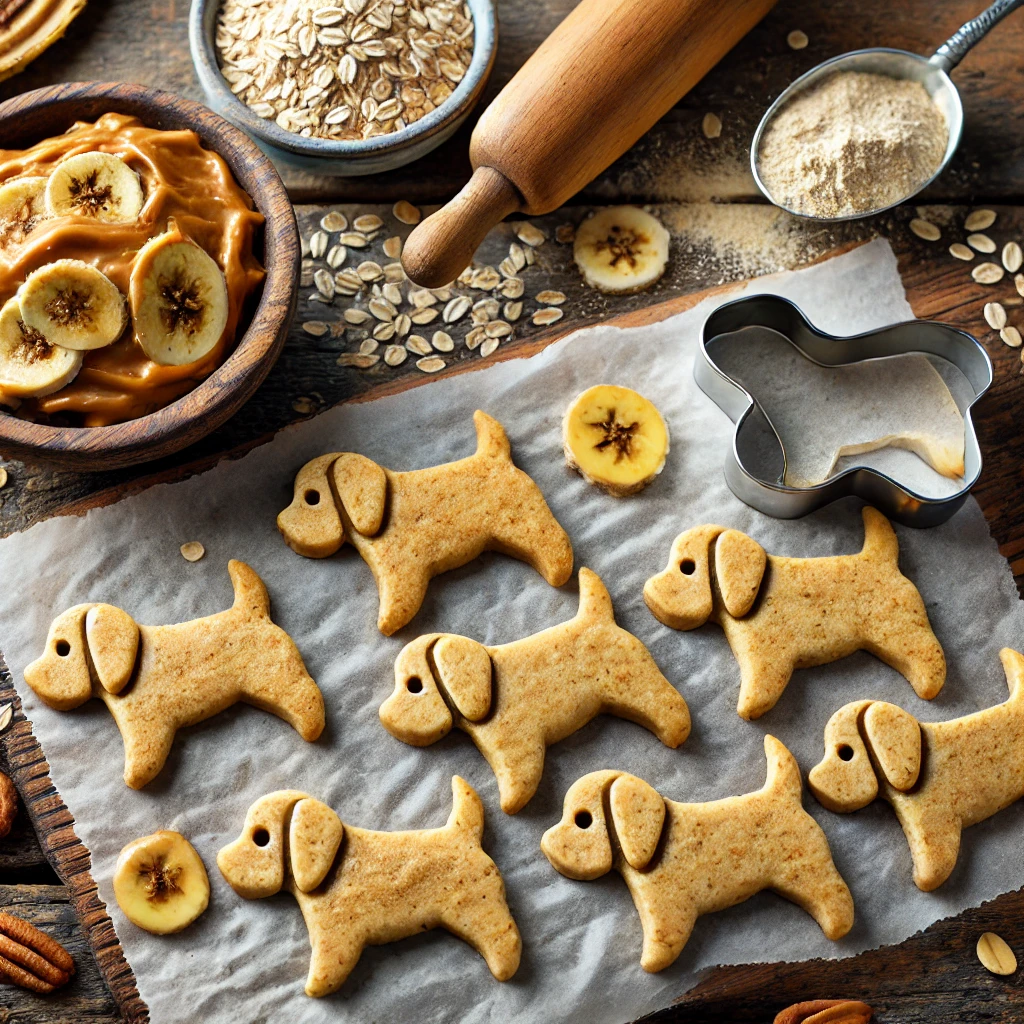
  • Peanut Butter Banana Bites
  • Carrot Crunch Snacks
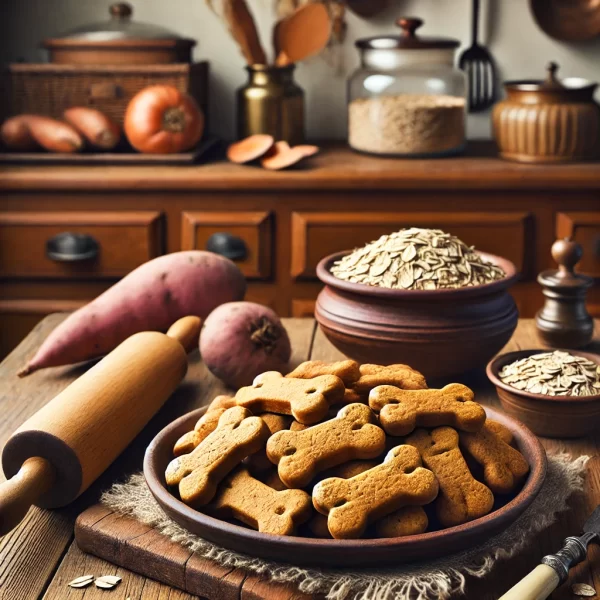
  • Pumpkin Oat Cookies
  • And more specialty treats for picky eaters or sensitive stomachs!

📥 Click here to download your FREE Dog Treat Recipe Book from The Beggin Beagle Bakery and start baking with love today.

Whether you’re baking for your own pup or thinking about turning your passion into profit, this book is your go-to guide for creating healthy, homemade goodness your dog will devour.

Final Woofs

When it comes to your pup’s health, every little choice adds up—including what goes into their treat jar. By using homemade dog treat recipes like our breath-freshening bites, you’re not only showing your dog some love—you’re also taking steps toward better oral hygiene, better digestion, and overall well-being.

So grab your mixing bowl, preheat that oven, and give your dog something truly worth barking about.

And don’t forget…
🎉 Grab your FREE Dog Treat Recipe Book and discover even more tail-wagging recipes from The Beggin Beagle Bakery—where baking meets wellness for pups everywhere.

Let me know if you’d like a matching Pinterest pin or Instagram caption to go with this post!

Whip Up These Easy Peanut Butter Dog Treats in No Time

If you’re a dog parent like me, you know that our furry friends deserve nothing but the best. And what better way to show some love than by whipping up a batch of homemade treats? Today, I’m excited to share my no-nonsense recipe for easy peanut butter dog treats—a recipe that’s as straightforward as it is delicious. Whether you’re a seasoned cook or someone who’s just learning to make something other than toast, this recipe is for you. Plus, it’s packed with wholesome ingredients that your pup will adore.

Why Homemade Treats?

Let’s be real: store-bought dog treats often come loaded with preservatives, artificial flavors, and ingredients that leave you scratching your head. Making your own treats gives you full control over what goes into them, ensuring that your best friend is snacking on something nutritious. Not to mention, there’s a special satisfaction in knowing you made these treats with love, and your dog’s tail-wagging approval is all the reward you need.

A Quick Note on Peanut Butter

Peanut butter is a favorite flavor for both humans and dogs, but not all peanut butters are created equal. When picking your peanut butter, make sure it’s free of xylitol—a sugar substitute that’s toxic to dogs. The best bet is to go for a natural, unsweetened variety. Trust me, your pup will taste the difference, and you’ll feel better knowing you’re not risking their health.

Let’s Get Started: The Recipe

This recipe is super simple, requiring just a handful of ingredients that you probably already have in your kitchen. Here’s what you’ll need:

Ingredients

  • 1 cup whole wheat flour (if your dog has a wheat allergy, you can substitute with oat flour or rice flour)
  • 1/2 cup rolled oats
  • 1/4 cup natural, unsweetened peanut butter
  • 1/4 cup water (more if needed)
  • 1 egg
  • Optional: A drizzle of honey for a touch of natural sweetness (great for those dogs with a sweet tooth, but skip if you’re watching calorie intake)

Equipment

  • A mixing bowl
  • A rolling pin (or a clean bottle will do in a pinch)
  • Cookie cutters (bonus points if you have fun shapes like bones or paws)
  • A baking sheet lined with parchment paper

Step-by-Step Instructions

1. Preheat and Prepare

First things first, preheat your oven to 350°F (175°C). While you’re waiting for the oven to warm up, line your baking sheet with parchment paper. This ensures that your treats don’t stick and makes cleanup a breeze.

2. Mix the Dry Ingredients

In your mixing bowl, combine the whole wheat flour and rolled oats. Stir them together so they’re evenly distributed. This is the foundation of your treat dough, so take your time and make sure it’s well mixed.

3. Add the Wet Ingredients

Now, add in the natural peanut butter and the egg. Start stirring these into the dry ingredients slowly. As the mixture begins to come together, gradually add water. The goal here is to achieve a dough-like consistency that isn’t too sticky or too dry. If it feels too dry, add a splash more water; if it’s too sticky, sprinkle in a little extra flour.

4. Roll Out the Dough

Lightly dust your work surface with flour and transfer the dough onto it. Use your rolling pin to flatten the dough to about 1/4 inch thickness. Rolling it out evenly ensures that all your treats will bake at the same rate.

5. Cut Out the Treats

Here’s where the fun part comes in: using your favorite cookie cutters, cut the dough into shapes. I like to use a bone-shaped cutter for that extra touch of doggy delight, but any shape will do. If you don’t have cookie cutters, simply cut the dough into small squares or strips with a knife.

6. Bake to Perfection

Place your cut-out treats on the prepared baking sheet. Slide them into your preheated oven and bake for about 15-20 minutes. Keep an eye on them—the edges should be lightly browned when they’re done. Every oven is different, so if you’re making them for the first time, it might be a good idea to check at the 15-minute mark.

7. Cool and Enjoy

Once baked, remove the treats from the oven and let them cool completely on a rack. This cooling step is crucial—it helps the treats firm up and makes them easier for your dog to handle. Plus, it gives you a chance to do a little victory dance knowing you just made something awesome for your pup.

Tips for Treat-Making Success

  • Experiment with Flavors: Once you’ve mastered the basic recipe, feel free to experiment. Add a little pumpkin puree for extra moisture and flavor, or toss in some finely chopped carrots for added crunch.
  • Storage: Store your homemade treats in an airtight container. They’ll keep fresh for about a week at room temperature. If you’re planning to make a big batch, consider freezing them in small portions for longer-term storage.
  • Portion Control: Remember, these treats are a supplement to your dog’s regular diet. Too many treats, even healthy ones, can upset your dog’s stomach or lead to unwanted weight gain.
  • Monitor for Allergies: Introduce new treats slowly, especially if your dog has a history of food sensitivities. Always keep an eye out for any adverse reactions.

The Benefits of Homemade Dog Treats

Making your own dog treats isn’t just a fun activity—it’s also a fantastic way to ensure your pet is getting the best possible ingredients. Here’s why I think homemade is the way to go:

Freshness and Quality

Commercial dog treats can be hit or miss in terms of quality. With homemade treats, you know exactly what’s going into them. Every ingredient is fresh, natural, and chosen with your dog’s health in mind. No hidden chemicals, no mystery additives—just good, honest food.

Cost-Effective and Customizable

Believe it or not, making treats at home can actually be more budget-friendly. When you break down the cost of ingredients, you’ll often find that homemade treats are cheaper per treat than buying premium brands off the shelf. Plus, you can adjust the recipe to suit your dog’s preferences and dietary needs.

A Bonding Experience

There’s something incredibly rewarding about preparing something by hand for your pet. It’s a simple act of love that strengthens the bond between you and your dog. And hey, it might even become your new favorite weekend project!

A Few Gen X-Style Reflections

Back in the day, we didn’t have all these fancy dog treat brands promising the moon. We made do with what we had, and we did it right. There’s a sense of pride that comes with knowing you put in the effort to create something truly beneficial for your pet. Today’s fast-paced world might tempt you to just grab a bag from the store, but taking the time to make these treats can be a refreshing break from the usual hustle.

I like to think of it as a little rebellion against the overly processed, convenience-everything culture. We know the value of quality and craftsmanship. Whether it’s a home-cooked meal or a well-made treat, nothing beats the satisfaction of knowing it was made with care. And let’s face it, our dogs deserve that same level of attention and quality.

Final Thoughts

Homemade peanut butter dog treats are more than just a snack—they’re a statement. They say, “I care about you, and I’m willing to put in the time and effort to make something special for you.” This recipe is perfect for busy folks who want to do something extra for their four-legged companions without spending hours in the kitchen.

So, dust off that rolling pin, grab your natural peanut butter, and get baking. Your dog will thank you with every wag and every lick. And who knows? This might just be the start of a whole new hobby that’s as rewarding as it is tasty.

Remember, every batch is a little experiment in love and creativity. Feel free to tweak the recipe, add your own flair, and share your successes (or funny mishaps) with fellow dog lovers. After all, the best recipes are the ones that bring us together—both human and canine alike.

Happy baking, and here’s to many happy, healthy, and tail-wagging moments ahead!

Easy Homemade Dog Treat Recipes:


Three Simple & Healthy Treats for Your Pup

Making homemade dog treats is a fun, cost-effective, and healthy way to spoil your furry friend. Unlike store-bought treats, which can contain preservatives and artificial ingredients, homemade dog treats allow you to use fresh, nutritious, and dog-friendly ingredients.

Whether you’re an experienced pet parent or a beginner in the kitchen, these easy homemade dog treat recipes are perfect for you! They require minimal ingredients, no fancy equipment, and are quick to prepare.

In this post, we’ll cover:

✔️ Why homemade dog treats are better than store-bought
✔️ 3 simple and healthy homemade dog treat recipes
✔️ Tips for storing and customizing treats for your pup

Let’s get started! 🐶💛

Why Make Homemade Dog Treats?

Homemade dog treats come with a ton of benefits for both you and your pup. Here’s why they’re worth trying:

1. Healthier Ingredients

Many store-bought treats contain fillers, artificial flavors, and preservatives that aren’t great for dogs. By making your own, you control exactly what goes into their snacks—ensuring they’re natural and wholesome.

2. Customizable for Dietary Needs

Does your dog have food allergies or sensitivities? With homemade treats, you can easily adjust the ingredients to suit their needs. Whether your pup is grain-free, dairy-free, or on a special diet, you can create treats that work for them.

3. Cost-Effective

While premium dog treats can be expensive, making your own at home can save you money in the long run. Most recipes use simple pantry ingredients like peanut butter, oats, and bananas.

4. A Fun Way to Bond

Baking dog treats is a great way to spend quality time with your furry friend. Some dogs even love being part of the process—watching as their treats come together!

Now that you know the benefits, let’s dive into three easy homemade dog treat recipes.

1. Peanut Butter & Banana Dog Treats (No-Bake!)

These no-bake peanut butter & banana treats are soft, chewy, and packed with flavor. Plus, they take just 10 minutes to make!

Ingredients:

  • 1 ripe banana (mashed) 🍌
  • ½ cup natural peanut butter (xylitol-free) 🥜
  • 1 cup rolled oats 🌾
  • 1 tbsp honey (optional) 🍯

Instructions:

  1. In a bowl, mash the banana until smooth.
  2. Add the peanut butter and honey, mixing until well combined.
  3. Gradually add the oats and stir until the mixture forms a dough.
  4. Roll into small balls or press into a silicone mold.
  5. Refrigerate for at least 30 minutes to firm up.

Storage:

Keep in an airtight container in the fridge for up to 1 week or freeze for up to 3 months.

✔️ Why Your Dog Will Love It:

  • Peanut butter provides protein and healthy fats.
  • Bananas add natural sweetness and potassium.
  • No baking required—super easy to make!

2. Sweet Potato & Oat Dog Biscuits

These crunchy, homemade dog biscuits are great for dogs who love a crispier texture. Made with real sweet potatoes, they’re rich in fiber, vitamins, and antioxidants.

Ingredients:

  • 1 cup mashed sweet potato 🍠
  • 1 ½ cups oat flour 🌾
  • 1 egg 🥚
  • ½ tsp cinnamon (optional)

Instructions:

  1. Preheat your oven to 350°F (175°C).
  2. In a bowl, mix the mashed sweet potato and egg until smooth.
  3. Gradually add the oat flour and cinnamon, stirring to form a dough.
  4. Roll out the dough and use a cookie cutter to create fun shapes.
  5. Place on a lined baking sheet and bake for 20-25 minutes until golden brown.
  6. Let the biscuits cool completely before serving.

Storage:

Store in an airtight container at room temperature for up to 2 weeks or freeze for up to 3 months.

✔️ Why Your Dog Will Love It:

  • Sweet potatoes are nutrient-dense and great for digestion.
  • Oat flour is a healthy, gluten-free alternative to wheat flour.
  • Perfect for dogs who love a crunchy biscuit!

3. Apple & Carrot Dog Treats (Grain-Free!)

If your dog is on a grain-free diet, these apple & carrot dog treats are a great alternative. They’re soft, chewy, and naturally sweet!

Ingredients:

  • 1 cup grated apple (no seeds) 🍏
  • ½ cup grated carrot 🥕
  • 1 cup almond flour 🌰
  • 1 egg 🥚
  • 1 tbsp coconut oil 🥥

Instructions:

  1. Preheat your oven to 325°F (160°C).
  2. In a bowl, mix all ingredients until a dough forms.
  3. Roll the dough into small balls or flatten into a cookie shape.
  4. Bake for 15-18 minutes until firm.
  5. Let cool before serving.

Storage:

Store in the fridge for up to 1 week or freeze for up to 3 months.

✔️ Why Your Dog Will Love It:

  • Apples provide fiber and natural sweetness.
  • Carrots are rich in vitamins A & C.
  • Soft texture—great for senior dogs or puppies!

Frequently Asked Questions

1. How Long Do Homemade Dog Treats Last?

Most homemade dog treats last about a week in the fridge. If you want them to last longer, store them in the freezer and thaw as needed.

2. Can I Use Regular Flour Instead of Oat or Almond Flour?

Yes! Whole wheat flour is a good alternative if your dog isn’t grain-sensitive. However, oat and almond flour are easier to digest.

3. What Ingredients Should I Avoid?

Some foods are toxic to dogs, including:
🚫 Chocolate
🚫 Grapes/Raisins
🚫 Xylitol (found in some peanut butters)
🚫 Onions & Garlic

Always check ingredients before making homemade treats!

4. Can I Add Supplements to These Treats?

Absolutely! You can mix in:

  • Turmeric (for anti-inflammatory benefits)
  • Flaxseed (for omega-3s)
  • Coconut Oil (for a shiny coat)

Making homemade dog treats is a fun, simple way to ensure your pup gets nutritious and delicious snacks. Whether you try the Peanut Butter & Banana Bites, Sweet Potato Biscuits, or Apple & Carrot Treats, your dog is sure to love them!

Have you tried making homemade dog treats? Share your favorite recipes in the comments below! And if you try these, tag us on social media—we’d love to see your creations!

🐶 Happy Baking! 🦴✨

Two-Tiered Dog Birthday Cake Recipe: Step-by-Step Tutorial

Treat your pup to a show-stopping two-tiered birthday cake that’s as adorable as it is delicious. This recipe uses healthy, dog-safe ingredients to create a cake that looks fancy but is surprisingly simple to make!


Ingredients for the Cake

  • Base Tier (6-inch round cake):
    • 1 1/2 cups oat flour (or whole wheat flour)
    • 1 teaspoon baking powder
    • 1/2 cup unsweetened applesauce
    • 1/2 cup peanut butter (xylitol-free)
    • 1 egg
    • 1/2 ripe banana (mashed)
  • Top Tier (4-inch round cake):
    • 1 cup oat flour
    • 1/2 teaspoon baking powder
    • 1/4 cup unsweetened applesauce
    • 1/4 cup peanut butter (xylitol-free)
    • 1 egg
    • 1/4 ripe banana (mashed)

Ingredients for Frosting and Decorations

  • 1 cup plain Greek yogurt
  • 3 tablespoons peanut butter (xylitol-free)
  • Optional decorations: banana slices, small dog biscuits, or shredded carrots

Instructions

Step 1: Preheat the Oven

Preheat your oven to 350°F (175°C). Grease one 6-inch round cake pan and one 4-inch round cake pan with nonstick spray or line with parchment paper.


Step 2: Prepare the Batter for the Base Tier

  1. In a large mixing bowl, whisk together the oat flour and baking powder.
  2. In a separate bowl, mix the applesauce, peanut butter, egg, and mashed banana until smooth.
  3. Gradually add the wet ingredients to the dry ingredients and stir until fully combined.
  4. Pour the batter into the greased 6-inch cake pan and smooth the top.

Step 3: Prepare the Batter for the Top Tier

  1. In another bowl, combine the oat flour and baking powder.
  2. Mix the applesauce, peanut butter, egg, and mashed banana in a separate bowl.
  3. Add the wet mixture to the dry ingredients and stir until smooth.
  4. Pour the batter into the greased 4-inch cake pan and smooth the top.

Step 4: Bake the Cakes

  1. Place both pans in the oven. Bake the 6-inch cake for 25-30 minutes and the 4-inch cake for 20-25 minutes, or until a toothpick inserted into the center comes out clean.
  2. Allow the cakes to cool completely before assembling.

Step 5: Prepare the Frosting

  1. In a small bowl, mix the Greek yogurt and peanut butter until smooth.
  2. Chill the frosting in the refrigerator while the cakes cool.

Step 6: Assemble the Cake

  1. Place the cooled 6-inch cake on a cake stand or serving plate.
  2. Spread a thin layer of frosting over the top to act as “glue” for the top tier.
  3. Carefully position the 4-inch cake on top of the base tier.

Step 7: Frost the Cake

  1. Use a spatula or butter knife to spread the frosting over the entire cake, covering both tiers evenly.
  2. Smooth the frosting for a polished look or create texture with swirls.

Step 8: Decorate

  1. Add banana slices, small dog biscuits, or shredded carrots as decorations around the tiers.
  2. If desired, pipe additional frosting around the base and edges for an elegant touch.

Step 9: Serve and Celebrate

Slice a small piece for your dog and watch their tail wag with excitement! Remember to refrigerate leftovers in an airtight container for up to 3 days.


This two-tiered dog birthday cake is a show-stopping centerpiece for any canine celebration. With its easy assembly and dog-friendly ingredients, it’s sure to impress both pups and their humans! 🎂🐾

Homemade Dog Treats Healthy: A Guide to Wholesome Snacks for Your Pup

When it comes to pampering your furry friend, nothing beats homemade dog treats. Healthy snacks not only satisfy your dog’s cravings but also ensure they’re getting the best nutrition possible. If you’re ready to ditch store-bought options, here’s how to make your own nutritious dog treats.

Why Choose Homemade Dog Treats?

Homemade dog treats are healthy because you control the ingredients. No fillers, artificial flavors, or harmful additives—just pure, wholesome goodness. Plus, they’re tailored to your dog’s preferences and dietary needs.

Easy Recipes to Try

  1. Peanut Butter Oat Bites
    Combine oats, unsweetened peanut butter, and a touch of honey. Roll into small balls and refrigerate.
  2. Pumpkin Chews
    Mix canned pumpkin, whole wheat flour, and an egg. Roll out, cut into shapes, and bake at 350°F until firm.
  3. Sweet Potato Chips
    Slice sweet potatoes thinly, bake at 250°F until crispy, and voila—an easy treat packed with nutrients!

want more healthy dog treat recipes?

Discover healthy homemade dog treat recipes today!

This recipe book helps you create healthy, homemade dog treats tailored to your pup’s dietary needs, free from harmful additives and preservatives. Enjoy cost-effective, easy-to-make recipes that promote your dog’s well-being while strengthening the bond you share!

Tips for Success

  • Use dog-safe ingredients: Avoid chocolate, onions, grapes, and artificial sweeteners like xylitol.
  • Store treats properly: Keep refrigerated or freeze extras for longer shelf life.
  • Experiment: Add ingredients like carrots, blueberries, or spinach for variety.

Making homemade dog treats healthy is easy, rewarding, and fun. Your dog will love the fresh flavors, and you’ll love knowing you’re providing them with wholesome snacks. Try it today and see the tail wags of approval!

Start baking your way to a happier, healthier pup!